Powerpoint and illustrator have been the main tools used by scientists and engineers to make images to support their work. They were the tools that I started making visuals. As I have gained more experience with lots of different projects I have added other tools, among them Photoshop and Blender, to the mix.
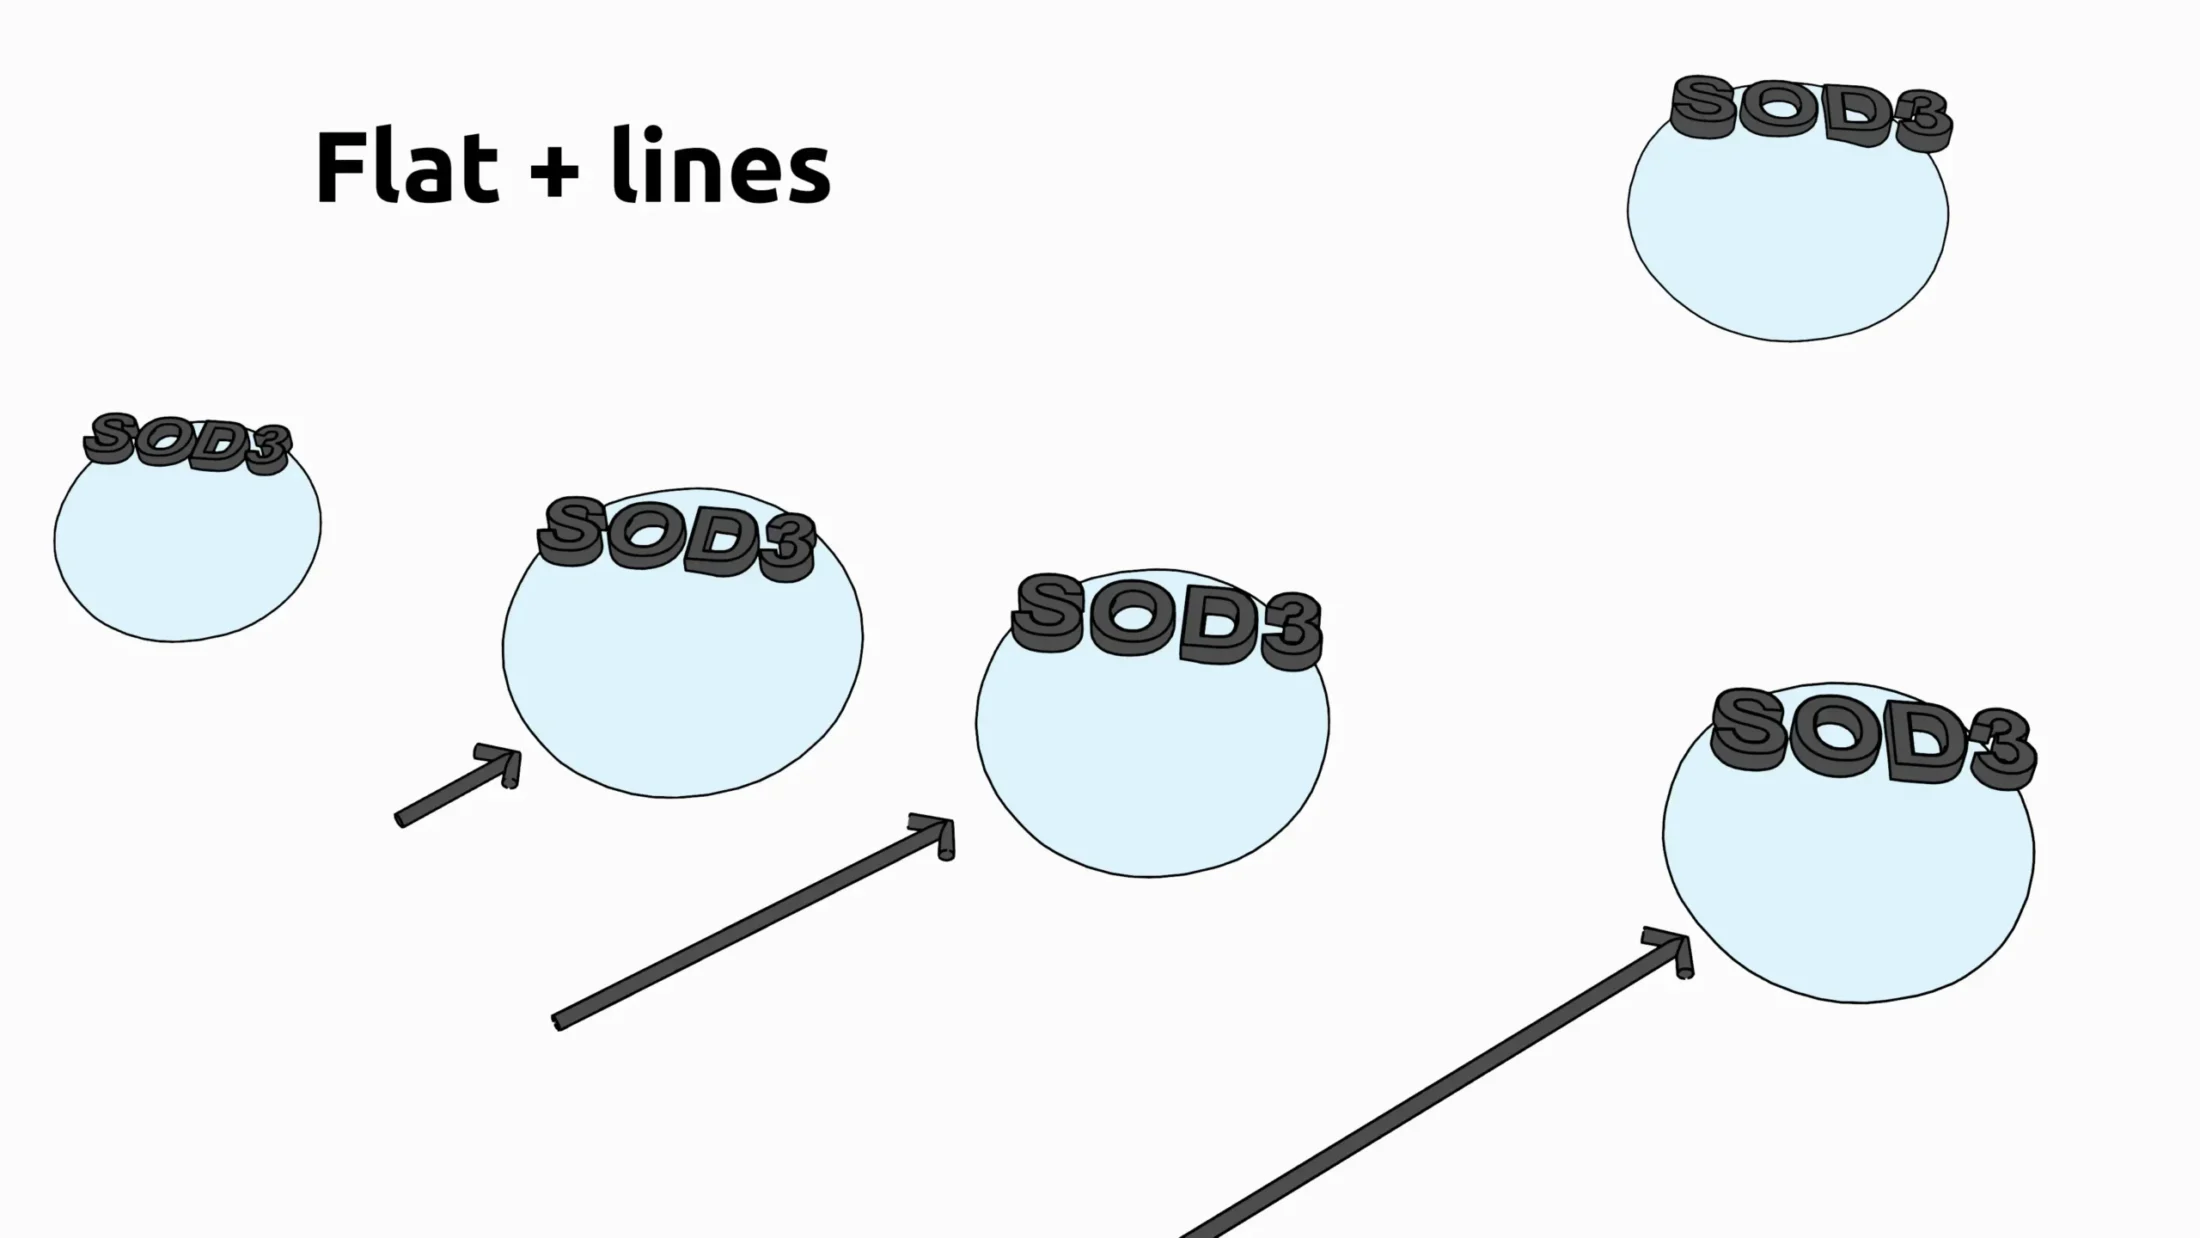
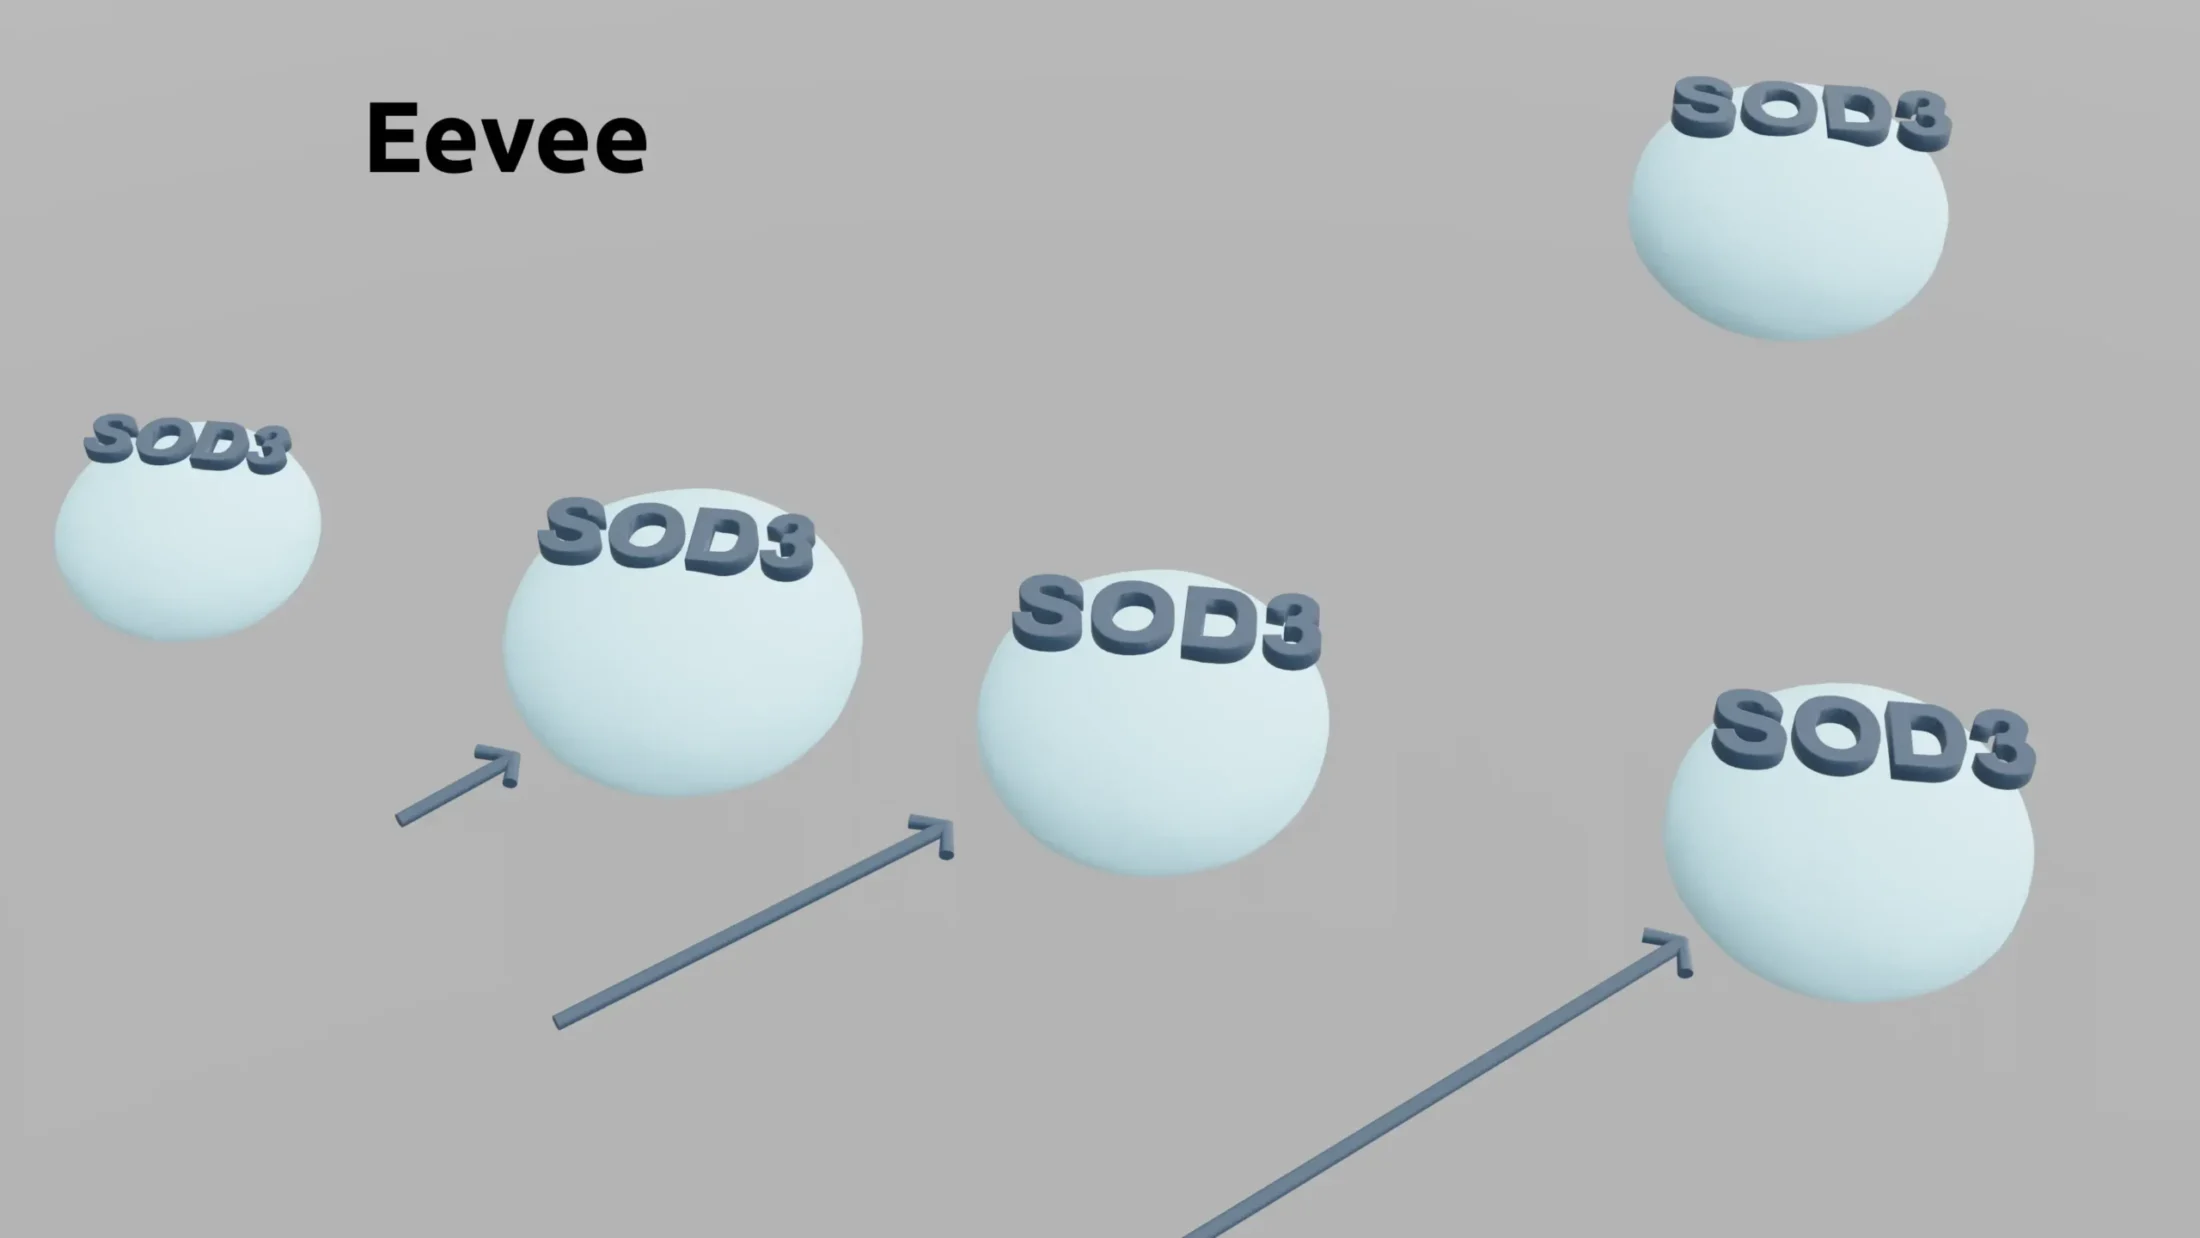
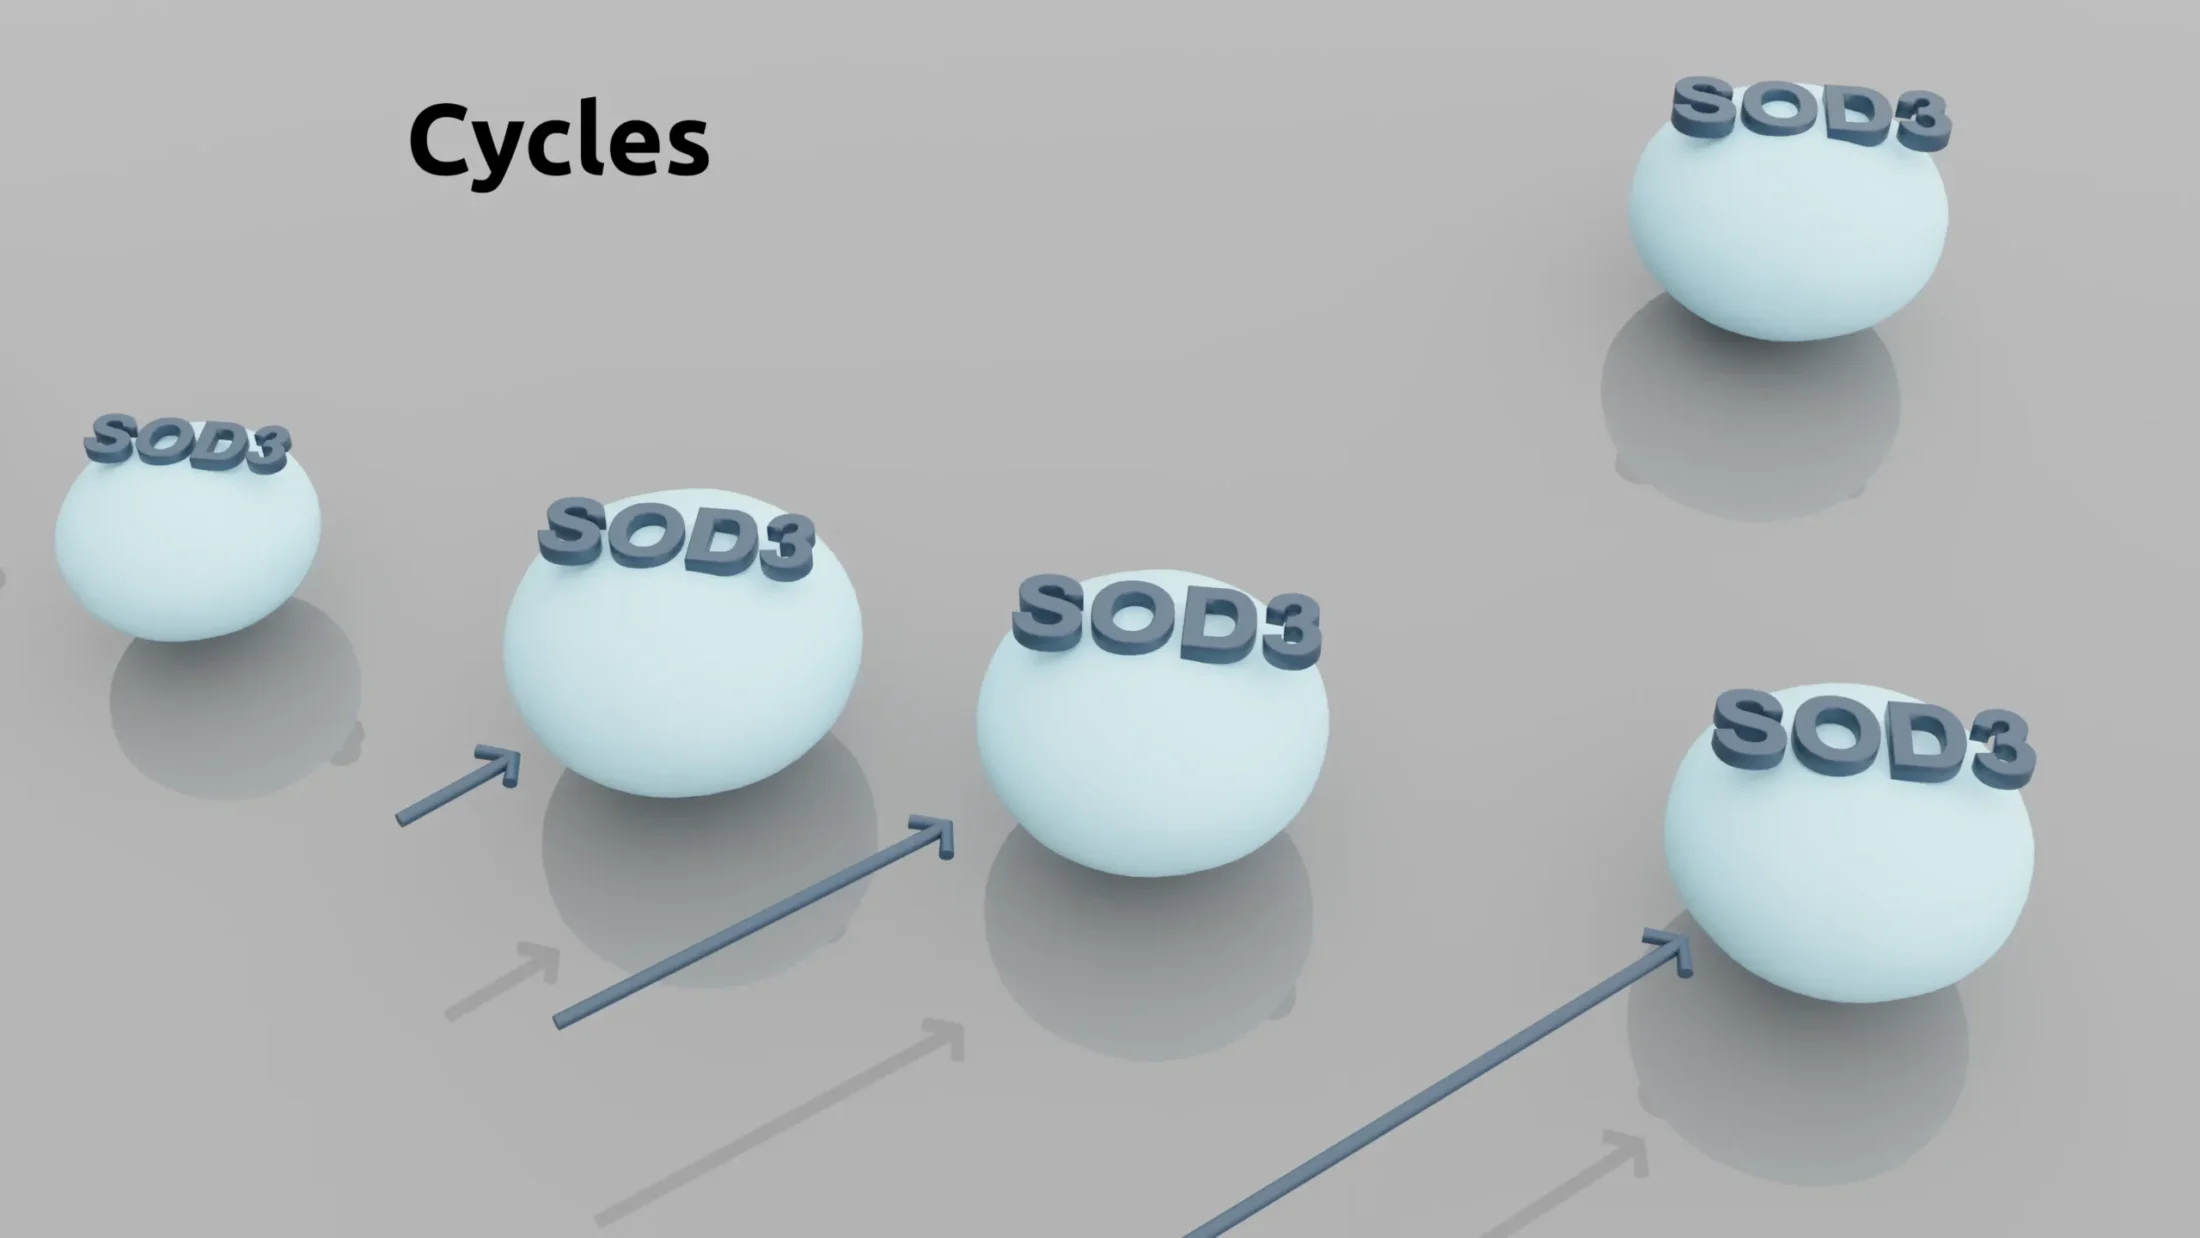
When building an image to convey information clarity is always my priority. This does not mean that images have to be limited to flat colour (no shadows or highlights) and lines. I integrate Blender rendered elements into the illustrations. This broadens the range of styles I can offer. This means I can then select the most appropriate one for the task based on purpose, subject matter and available budget.
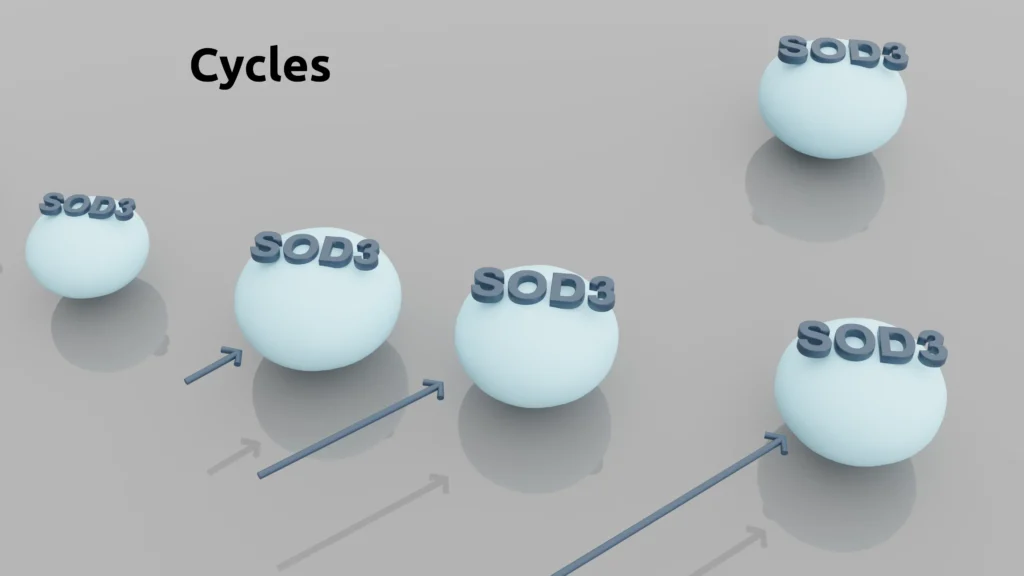
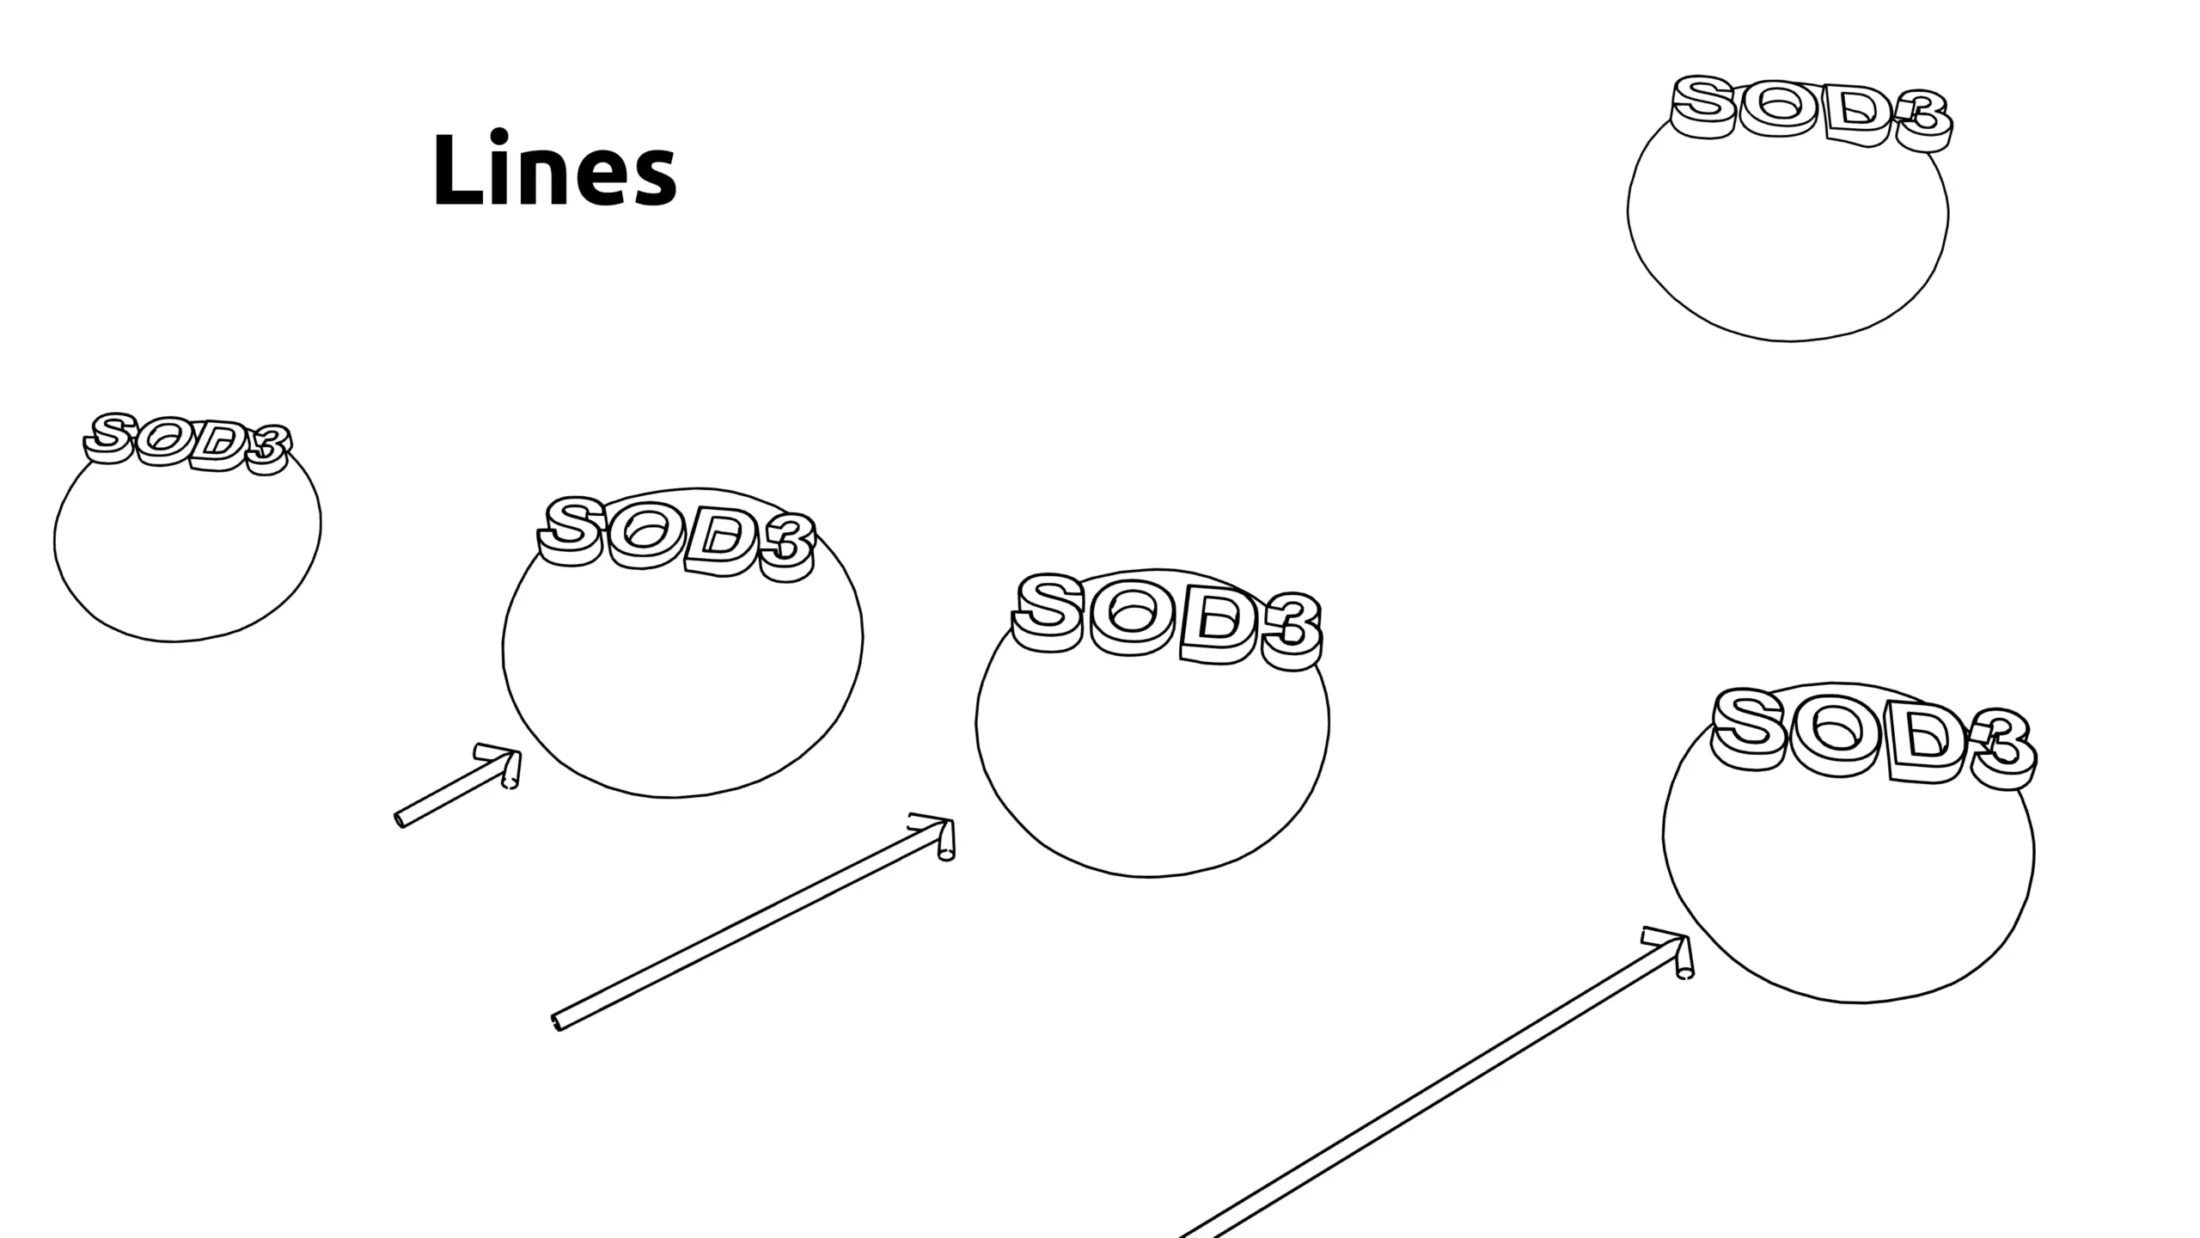
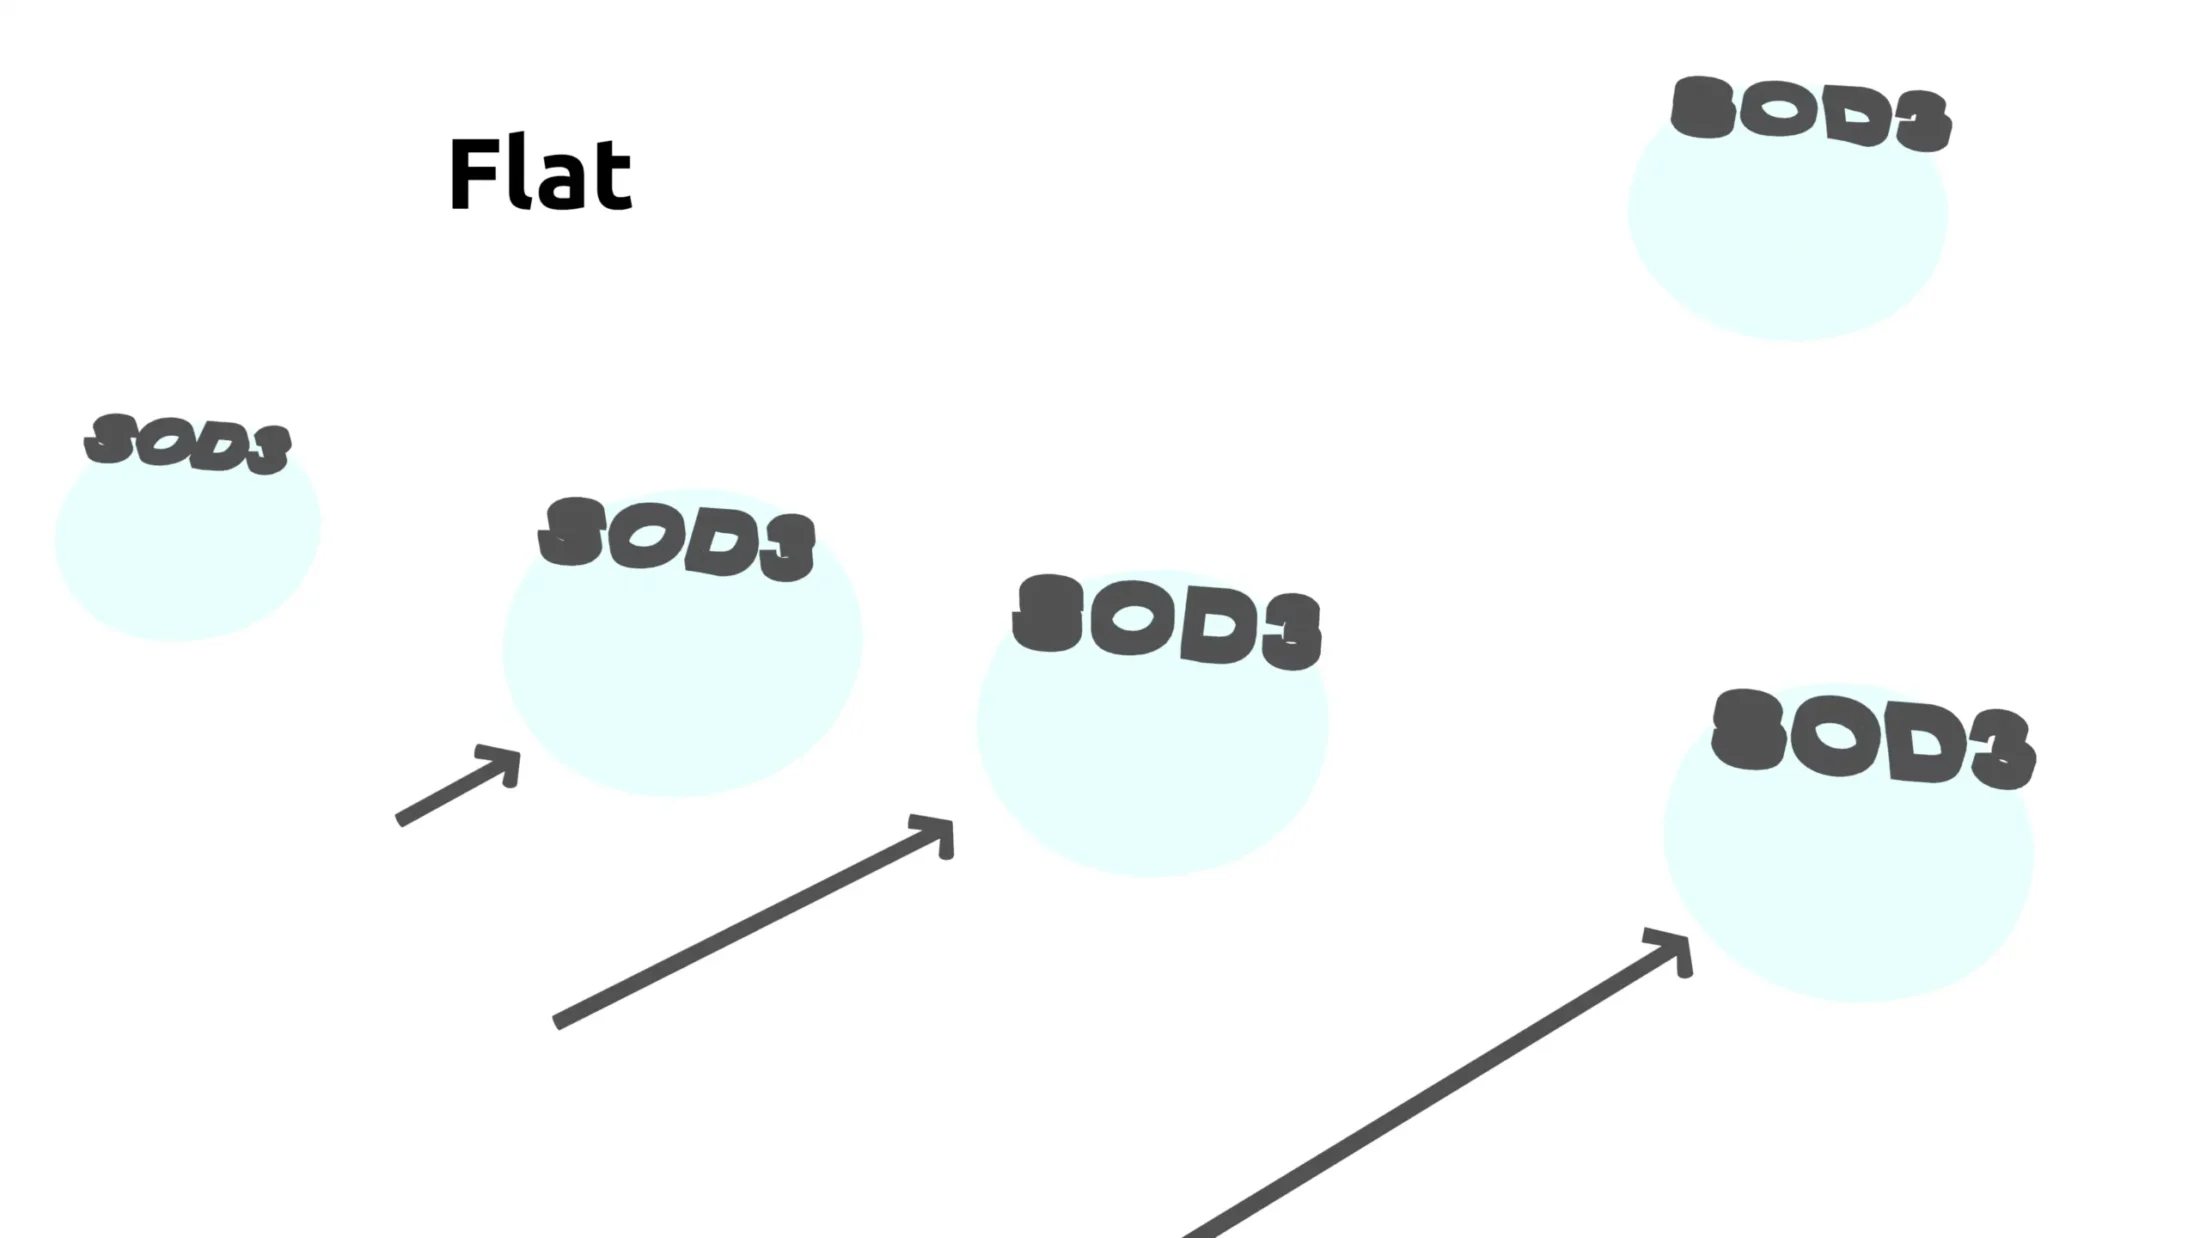
At the simplest end of the range is a lines alone image. For this all the shapes are modelled then lines are added but just the lines rendered. Next is a flat render –no shadows or highlights. Frequently I will reintroduce the lines to give the required definition. Next level of complexity is an Eevee render. These used to be a lot simpler- less expensive in terms of calculations of bounced light but recent versions of Blender now have an Eevee render that can approach Cycles in terms of realistic lighting. The Cycles render is at the top end of realistic lighting behaviour. Usually reserved for more realistic scenes and product renders. Regardless of the rendering approach each image will be moved to a graphic software like Affinty Design for adjustments, layered and further text and graphics added. That is usually where the most editing time is spent. After all edits the image is delivered to the client. For images created for academic purposes I will typically provide the file with editable layers so clients can easily repurpose elements in the future.


